Skip to content

Quartz64 - Kühler

Verschoben Quartz64 - A
  • Im Moment aktuell noch überhaupt nicht nötig aber wollte es trotzdem hier mal vorstellen.

    20210722_101305.jpg

    Auf dieses Board und auch genauso auf den ROCKPro64 passen ganz normale NorthBridge Kühler. Hier bei diesem Modell könnte man noch einen Lüfter drauf schrauben. Da ich keine Lüfter mag, mein NAS auf ROCKPro64 Basis hat auch nur einen Kühlkörper drauf, kommt da auch nie einer drauf.

  • @frankm

    the ram chip is higher as the cpu 😉

  • @thc013 I use an thermal pad. So i think it isn't an problem.

  • FrankMF FrankM verschob dieses Thema von Hardware am
  • FrankMF FrankM verschob dieses Thema von Quartz64 - A am
  • FrankMF FrankM verschob dieses Thema von Quartz64 am

  • Quartz64 - Modell B - UART

    Angeheftet Quartz64 - B
    4
    0 Stimmen
    4 Beiträge
    171 Aufrufe
    FrankMF

    Um das hier zu komplettieren, habe ich mich gerade gefragt "Wo speichert er die Settings?"

    Ok, ich habe sie gefunden.

    /root/.minirc.dfl

    Inhalt

    # Diese Datei ist maschinell erzeugt. Bitte verwenden Sie das # Einstellungs-Menü im minicom-Programm, um die Einstellungen # zu ändern. pu rtscts No

    Jetzt habe ich ausreichend hier dokumentiert, falls ich da nochmal Probleme mit habe.

  • Quartz64 - Manjaro Mai 2022

    Verschoben Quartz64
    1
    0 Stimmen
    1 Beiträge
    99 Aufrufe
    Niemand hat geantwortet
  • Quartz64 - Image von Peter Geis

    Images
    4
    0 Stimmen
    4 Beiträge
    314 Aufrufe
    FrankMF

    Nach langer Zeit habe ich mich mal wieder mit diesem Image beschäftigt. Peter hat da mittlerweile viel dran gearbeitet und jetzt schau ich mal, was so wie funktioniert. Also, das Image wie gewohnt auf eine SD-Karte und starten. Gewählt habe ich dieses Image -> rk3566-quartz64-a.dtb.img

    Wenn man das Image startet, wird man hiermit begrüßt

    screen01.png

    Punkt 1Buildroot-recovery startet ein Minimalsystem, womit man verschiedene Dinge auf der Konsole durchführen kann. Das brauchen wir gleich noch. Punkt 2 startet den Debian Installer Punkt 3 startet ein installiertes Debian von der SD-Karte Punkt 4 startet ein installiertes Debian vom eMMC-Modul

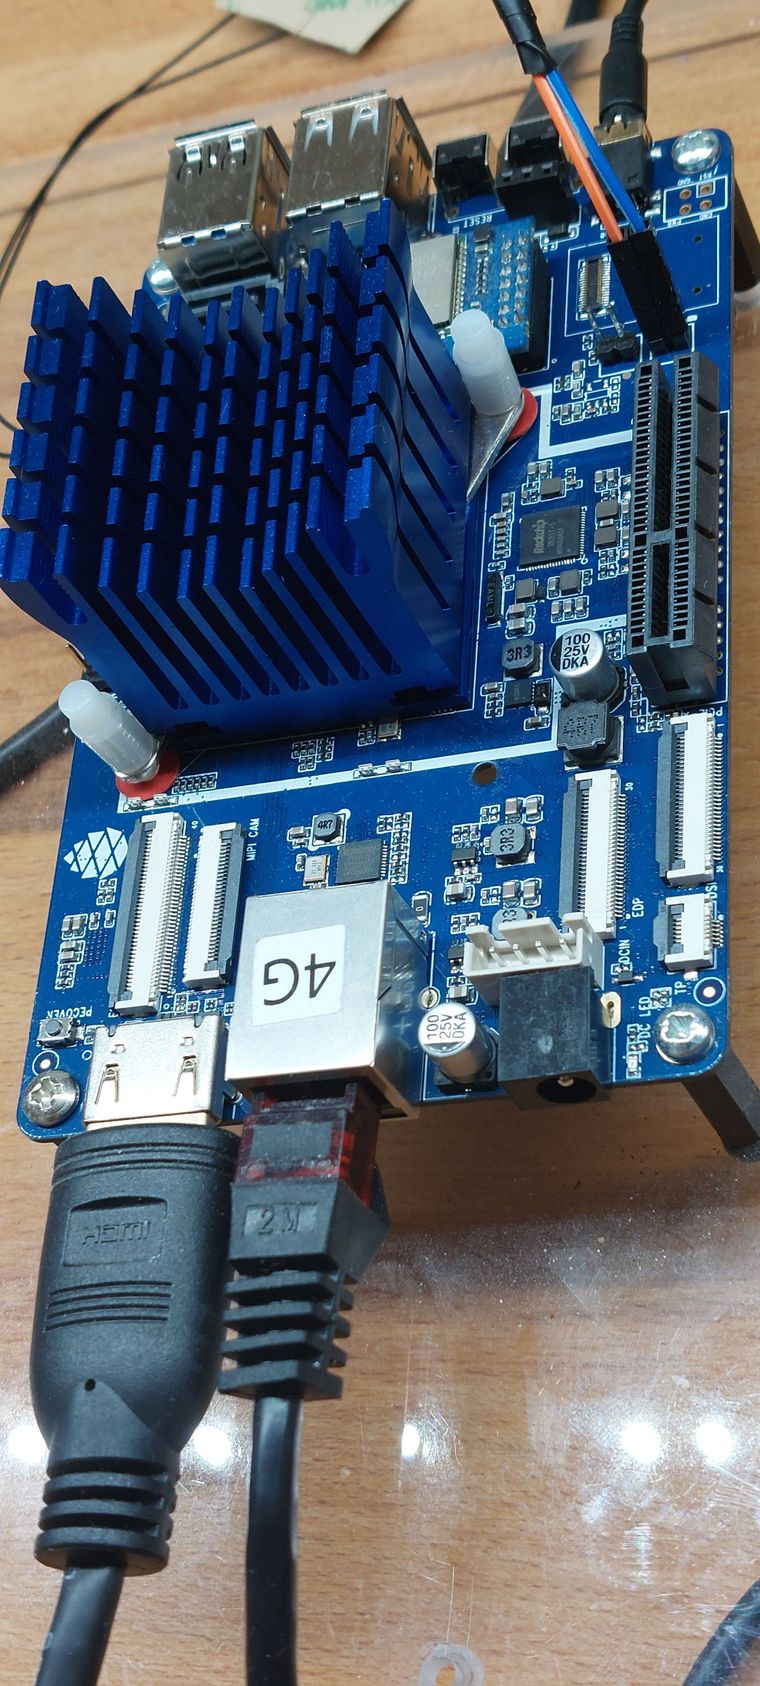
    Ich möchte heute mal schauen, ob man ein Minimal-System auf die PCIe-NVMe-Karte installieren kann. Peter hat nämlich den PCIe-Treiber mittlerweile im Kernel mit eingebaut.

    Dazu starte ich den Debian-Installer und führe die Installation durch. Für mich nichts besonderes, das mache ich ja sehr oft. Nach erfolgreicher Installation startet die Installation nicht, weil Peter in seinem Image das so nicht vorgesehen hat.

    Es gibt mehrere Möglichkeiten, das jetzt zu ändern. Wir machen das über UART direkt auf dem Quartz64.

    Die Struktur von Peters Image sieht so aus.

    e50bf2fe-723c-41f8-acba-227e148374ed-image.png

    Ich gehe nicht auf alles ein, die wichtigsten Partitionen haben einen Namen. Uns interessiert hier die Partition Nummer 5 mit dem Namen efi. (Auf der SD-Karte!!) Der Inhalt

    3c5cbf5f-811d-4c1f-95e9-cd007a37155c-image.png

    Im Ordner extlinux liegt die Konfigurationsdatei, die wir bearbeiten müssen. extlinux.config

    default l0 menu title Quartz64 Installer prompt 0 timeout 50 label l0 menu label Buildroot-recovery linux /vmlinuz initrd /rootfs.cpio.zst fdt /dtbs/rockchip/rk3566-quartz64-a.dtb append earlycon=uart8250,mmio32,0xfe660000 console=ttyS2,1500000n8 label l1 menu label Debian-Installer linux /vmlinuz initrd /initrd.gz fdt /dtbs/rockchip/rk3566-quartz64-a.dtb append earlycon=uart8250,mmio32,0xfe660000 console=ttyS2,1500000n8 label l6 menu label Boot Root SDMMC linux /vmlinuz fdt /dtbs/rockchip/rk3566-quartz64-a.dtb append earlycon=uart8250,mmio32,0xfe660000 console=ttyS2,1500000n8 root=/dev/mmcblk0p7 rootwait label l9 menu label Boot Root eMMC linux /vmlinuz fdt /dtbs/rockchip/rk3566-quartz64-a.dtb append earlycon=uart8250,mmio32,0xfe660000 console=ttyS2,1500000n8 root=/dev/mmcblk1p7 rootwait

    Ich nehme den Eintrag label l9 und passe ihn ein wenig an.

    label l9 menu label Boot Root NVMe linux /dev/nvme0n1p1/vmlinuz fdt /dtbs/rockchip/rk3566-quartz64-a.dtb append earlycon=uart8250,mmio32,0xfe660000 console=ttyS2,1500000n8 root=/dev/nvme0n1p2 rootwait

    Das wird abgespeichert, danach kann man den Quartz64 neustarten und mit Eingabe der Taste 4 startet man dann das Debian von der NVMe SSD.

    root@debian:~# df -h Filesystem Size Used Avail Use% Mounted on /dev/root 457G 926M 432G 1% / devtmpfs 1.9G 0 1.9G 0% /dev tmpfs 2.0G 0 2.0G 0% /dev/shm tmpfs 2.0G 17M 1.9G 1% /run tmpfs 5.0M 0 5.0M 0% /run/lock tmpfs 2.0G 0 2.0G 0% /sys/fs/cgroup /dev/nvme0n1p1 472M 49M 400M 11% /boot tmpfs 391M 0 391M 0% /run/user/1000

    PCIe

    root@debian:~# lspci 00:00.0 PCI bridge: Fuzhou Rockchip Electronics Co., Ltd Device 3566 (rev 01) 01:00.0 Non-Volatile memory controller: Samsung Electronics Co Ltd NVMe SSD Controller SM981/PM981

    Es handelt sich um ein Debian Buster 10

    VERSION="10 (buster)"

    Wollen wir das? Nö

    # deb http://deb.debian.org/debian/ buster main deb http://deb.debian.org/debian/ bullseye main deb-src http://deb.debian.org/debian/ bullseye main deb http://security.debian.org/debian-security bullseye-security main deb-src http://security.debian.org/debian-security bullseye-security main # buster-updates, previously known as 'volatile' deb http://deb.debian.org/debian/ bullseye-updates main deb-src http://deb.debian.org/debian/ bullseye-updates main

    Danach ein

    apt update && apt upgrade

    Neustarten und wir haben ein Debian Bullseye 11 🙂 Dieses Debian nutzt so jetzt nicht den Kernel von Debian, sondern Peters

    root@debian:/etc# uname -a Linux debian 5.17.0-rc3 #1 SMP PREEMPT Wed Feb 16 00:41:25 UTC 2022 aarch64 GNU/Linux

    Die Entscheidung überlasse ich Euch, ob ihr das Ändern wollt. Ich lasse das jetzt mal so. Wenn ihr wollt, das die Installation von alleine startet, dann müsst ihr Label 0 anpassen, das startet nach einem Timeout automatisch.

  • Quartz64 - sbc-bench

    Verschoben Quartz64
    7
    0 Stimmen
    7 Beiträge
    339 Aufrufe
    FrankMF

    @tkaiser Nein, kein Kühler und kein Lüfter. Nacktes Board 😁

  • Video PCIe SATA Karte

    ROCKPro64
    1
    0 Stimmen
    1 Beiträge
    505 Aufrufe
    Niemand hat geantwortet
  • Images 0.7.x

    Images
    22
    0 Stimmen
    22 Beiträge
    3k Aufrufe
    FrankMF

    Ayufan Images nutzen

    user: rock64 pw: rock64
  • nodejs & NodeBB

    ROCKPro64
    1
    0 Stimmen
    1 Beiträge
    505 Aufrufe
    Niemand hat geantwortet
  • stretch-minimal-rockpro64

    Verschoben Linux
    3
    0 Stimmen
    3 Beiträge
    989 Aufrufe
    FrankMF

    Mal ein Test was der Speicher so kann.

    rock64@rockpro64:~/tinymembench$ ./tinymembench tinymembench v0.4.9 (simple benchmark for memory throughput and latency) ========================================================================== == Memory bandwidth tests == == == == Note 1: 1MB = 1000000 bytes == == Note 2: Results for 'copy' tests show how many bytes can be == == copied per second (adding together read and writen == == bytes would have provided twice higher numbers) == == Note 3: 2-pass copy means that we are using a small temporary buffer == == to first fetch data into it, and only then write it to the == == destination (source -> L1 cache, L1 cache -> destination) == == Note 4: If sample standard deviation exceeds 0.1%, it is shown in == == brackets == ========================================================================== C copy backwards : 2812.7 MB/s C copy backwards (32 byte blocks) : 2811.9 MB/s C copy backwards (64 byte blocks) : 2632.8 MB/s C copy : 2667.2 MB/s C copy prefetched (32 bytes step) : 2633.5 MB/s C copy prefetched (64 bytes step) : 2640.8 MB/s C 2-pass copy : 2509.8 MB/s C 2-pass copy prefetched (32 bytes step) : 2431.6 MB/s C 2-pass copy prefetched (64 bytes step) : 2424.1 MB/s C fill : 4887.7 MB/s (0.5%) C fill (shuffle within 16 byte blocks) : 4883.0 MB/s C fill (shuffle within 32 byte blocks) : 4889.3 MB/s C fill (shuffle within 64 byte blocks) : 4889.2 MB/s --- standard memcpy : 2807.3 MB/s standard memset : 4890.4 MB/s (0.3%) --- NEON LDP/STP copy : 2803.7 MB/s NEON LDP/STP copy pldl2strm (32 bytes step) : 2802.1 MB/s NEON LDP/STP copy pldl2strm (64 bytes step) : 2800.7 MB/s NEON LDP/STP copy pldl1keep (32 bytes step) : 2745.5 MB/s NEON LDP/STP copy pldl1keep (64 bytes step) : 2745.8 MB/s NEON LD1/ST1 copy : 2801.9 MB/s NEON STP fill : 4888.9 MB/s (0.3%) NEON STNP fill : 4850.1 MB/s ARM LDP/STP copy : 2803.8 MB/s ARM STP fill : 4893.0 MB/s (0.5%) ARM STNP fill : 4851.7 MB/s ========================================================================== == Framebuffer read tests. == == == == Many ARM devices use a part of the system memory as the framebuffer, == == typically mapped as uncached but with write-combining enabled. == == Writes to such framebuffers are quite fast, but reads are much == == slower and very sensitive to the alignment and the selection of == == CPU instructions which are used for accessing memory. == == == == Many x86 systems allocate the framebuffer in the GPU memory, == == accessible for the CPU via a relatively slow PCI-E bus. Moreover, == == PCI-E is asymmetric and handles reads a lot worse than writes. == == == == If uncached framebuffer reads are reasonably fast (at least 100 MB/s == == or preferably >300 MB/s), then using the shadow framebuffer layer == == is not necessary in Xorg DDX drivers, resulting in a nice overall == == performance improvement. For example, the xf86-video-fbturbo DDX == == uses this trick. == ========================================================================== NEON LDP/STP copy (from framebuffer) : 602.5 MB/s NEON LDP/STP 2-pass copy (from framebuffer) : 551.6 MB/s NEON LD1/ST1 copy (from framebuffer) : 667.1 MB/s NEON LD1/ST1 2-pass copy (from framebuffer) : 605.6 MB/s ARM LDP/STP copy (from framebuffer) : 445.3 MB/s ARM LDP/STP 2-pass copy (from framebuffer) : 428.8 MB/s ========================================================================== == Memory latency test == == == == Average time is measured for random memory accesses in the buffers == == of different sizes. The larger is the buffer, the more significant == == are relative contributions of TLB, L1/L2 cache misses and SDRAM == == accesses. For extremely large buffer sizes we are expecting to see == == page table walk with several requests to SDRAM for almost every == == memory access (though 64MiB is not nearly large enough to experience == == this effect to its fullest). == == == == Note 1: All the numbers are representing extra time, which needs to == == be added to L1 cache latency. The cycle timings for L1 cache == == latency can be usually found in the processor documentation. == == Note 2: Dual random read means that we are simultaneously performing == == two independent memory accesses at a time. In the case if == == the memory subsystem can't handle multiple outstanding == == requests, dual random read has the same timings as two == == single reads performed one after another. == ========================================================================== block size : single random read / dual random read 1024 : 0.0 ns / 0.0 ns 2048 : 0.0 ns / 0.0 ns 4096 : 0.0 ns / 0.0 ns 8192 : 0.0 ns / 0.0 ns 16384 : 0.0 ns / 0.0 ns 32768 : 0.0 ns / 0.0 ns 65536 : 4.5 ns / 7.2 ns 131072 : 6.8 ns / 9.7 ns 262144 : 9.8 ns / 12.8 ns 524288 : 11.4 ns / 14.7 ns 1048576 : 16.0 ns / 22.6 ns 2097152 : 114.0 ns / 175.3 ns 4194304 : 161.7 ns / 219.9 ns 8388608 : 190.7 ns / 241.5 ns 16777216 : 205.3 ns / 250.5 ns 33554432 : 212.9 ns / 255.5 ns 67108864 : 222.3 ns / 271.1 ns